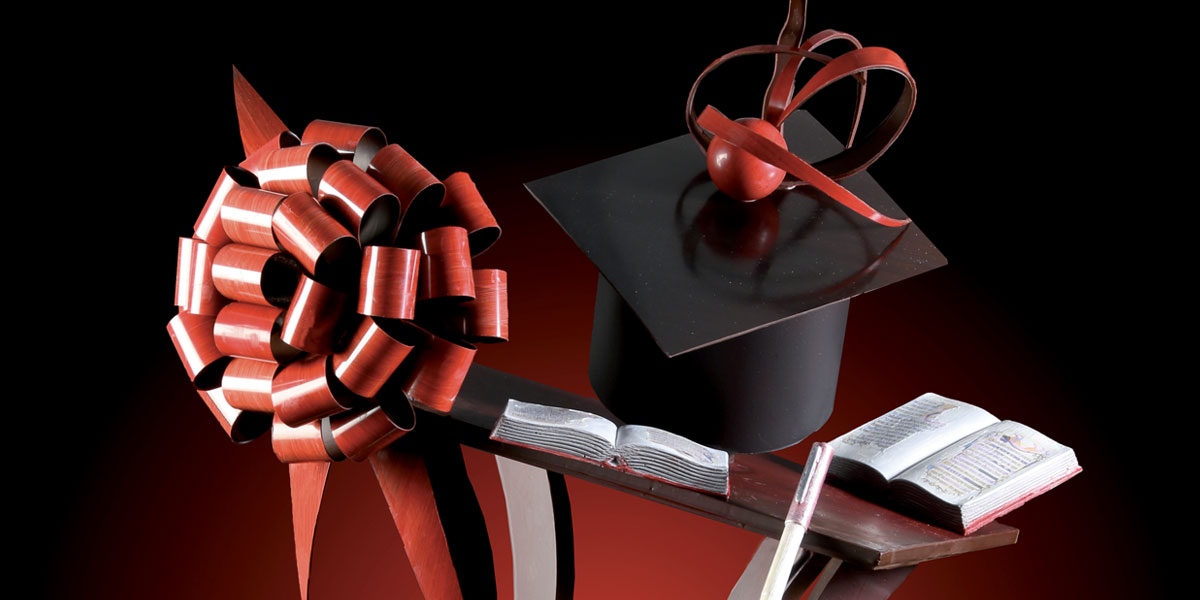
GRADUATION PARTY
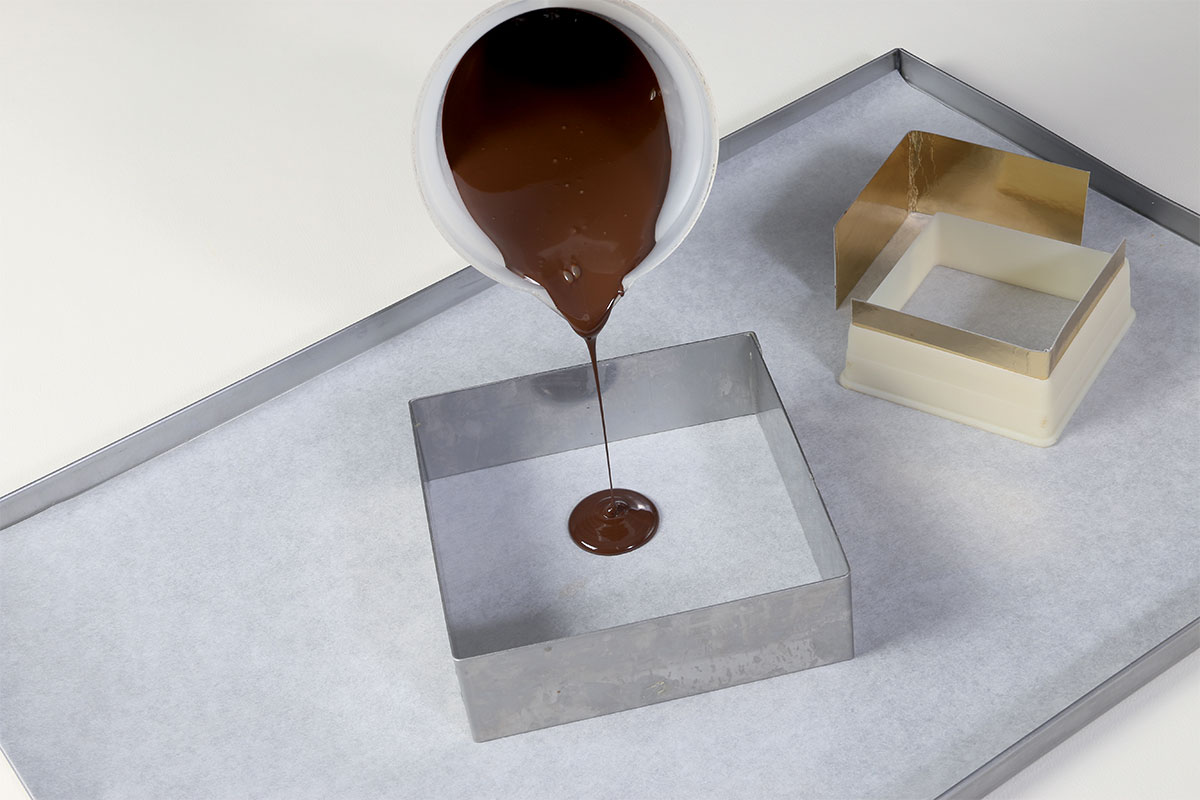
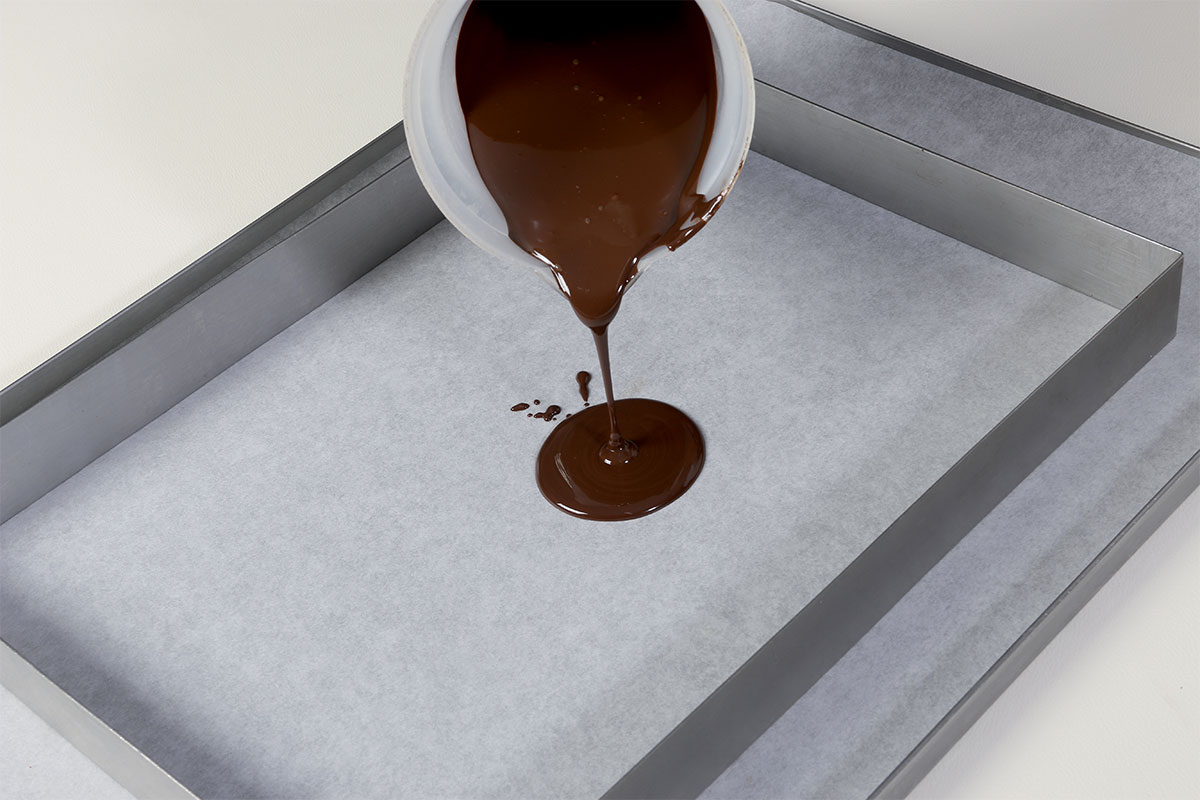
Prepare the two parallelepipeds placed at the base of the pièce, pouring the tempered chocolate on a wax paper base inside a 12×12 cm steel framework with a height of about 3 cm. For the second cube measuring 10×10 cm, raise the steel framework, using a piece of cardboard as a wall in order to reach a height of 10 cm. The structure has no internal cavities to support the sculpture. Spray the crystallized pieces extracted from the mould with dark chocolate. Using tempered chocolate, glue the smaller cube on top of the larger one so that its corners are perfectly centred on the middle of the base’s sides.
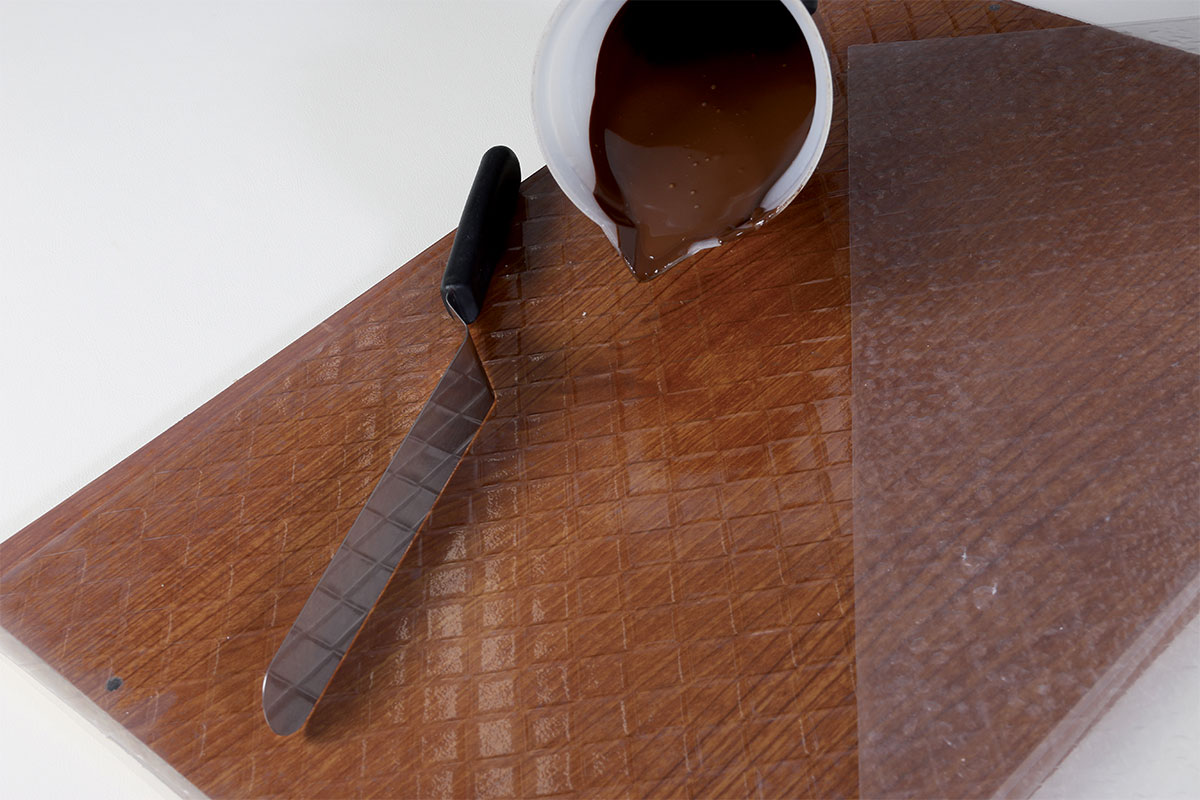
Reproduce the book cover with two sheets of chocolate and the inside pages with a rectangular block of chocolate. For the cover, pour the tempered chocolate between two special sheets in transparent plastic with embossed decorations. Spread the chocolate with a spatula at a uniform height of 1 cm. After crystallization, remove the acetate, making sure that the decorations are in relief on the surface of the chocolate. Cut the slabs obtaining the desired rectangular size. Make at least three different sizes. You will have seven covers (14 plates plus 7 small rectangles for the spines).
CHOCOLATE SCULPTURES
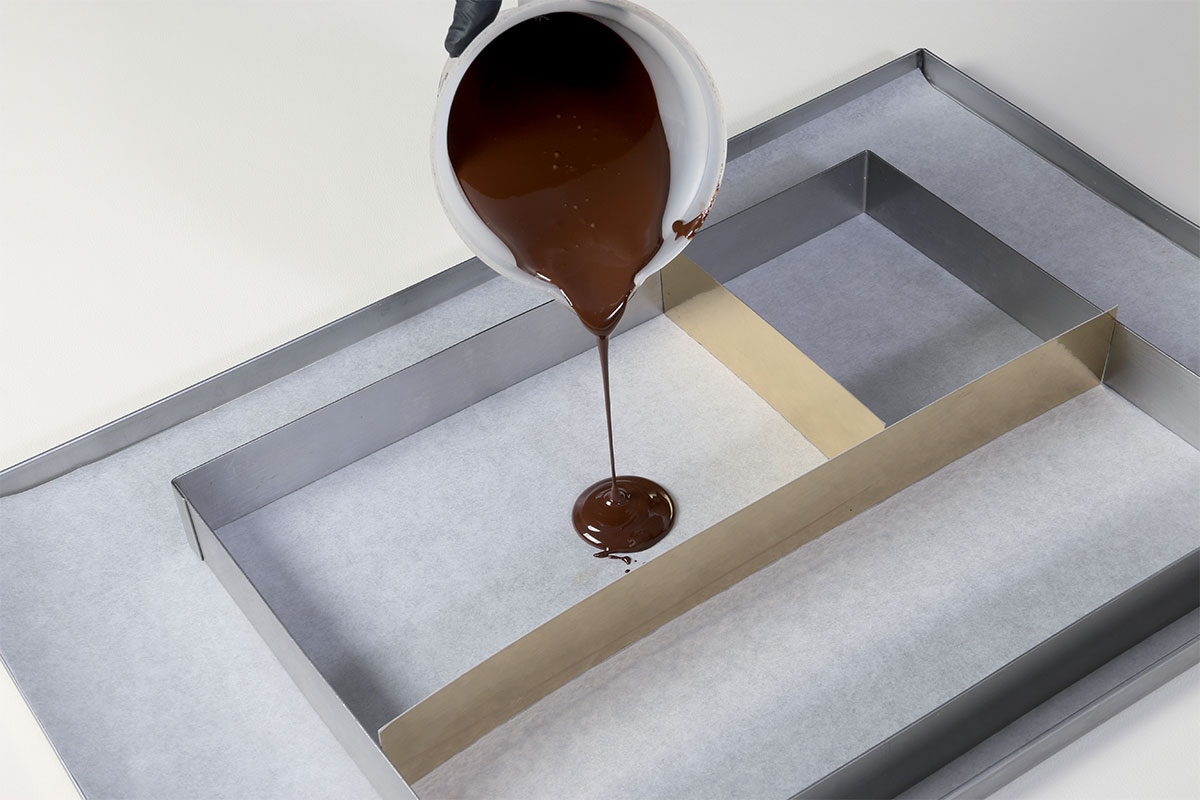
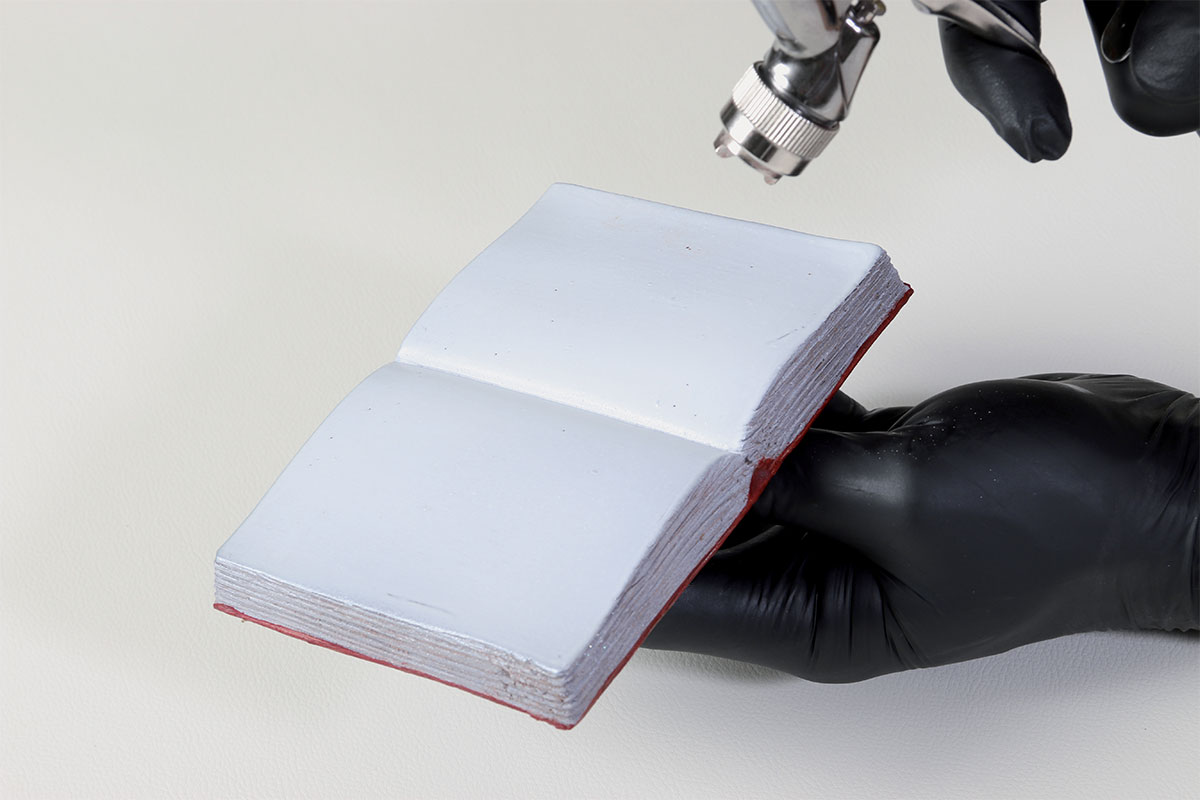
Pour the tempered chocolate inside a steel frame that is 3-5 cm high to make the pages of the books. To make different sizes, use cardboard strips to reduce the surface of the steel framework. Having obtained the rectangular block in chocolate, brush the sides with an abrasive brush, always moving in the same direction to ensure horizontal grooves. Reproduce the pages of the book by spraying the white titanium dioxide on all the edges. Glue the block of pages between the two covers and the spine with the tempered chocolate. Airbrush them with different colours to achieve a uniform colour, hiding the welds. Glue the books on top of each other, slightly offset.
If you don’t have an open book mould, make a single coloured cover. Place a chocolate rectangle on top of it and manually produce a rounded effect on the top. Brush the sides to create the ridges of the pages. Airbrush white and roll out the stencil with the let – ters. Make two open books. Place them on top of the lectern with the cap.
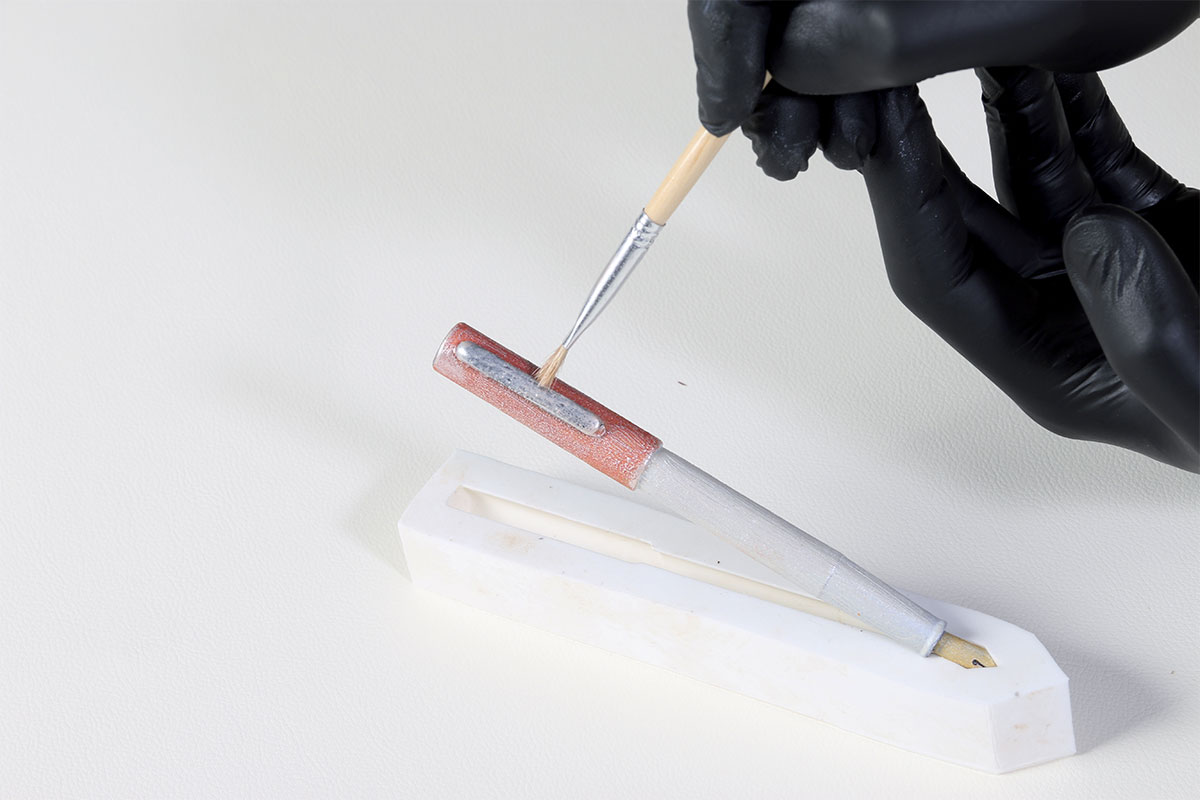
Get a mould of a fountain pen and place some near the books to further enrich the pièce. Pour the tempered chocolate in the mould and remove the pen when the choc – olate has hardened. Paint the fountain pen with a brush and colours, reproducing the details.

To build the lectern, start from the table, pouring the tempera chocolate into a steel frame placed on wax paper measuring approximately 35×50 cm with a height of 2 cm. And then place the plate on top of the four legs
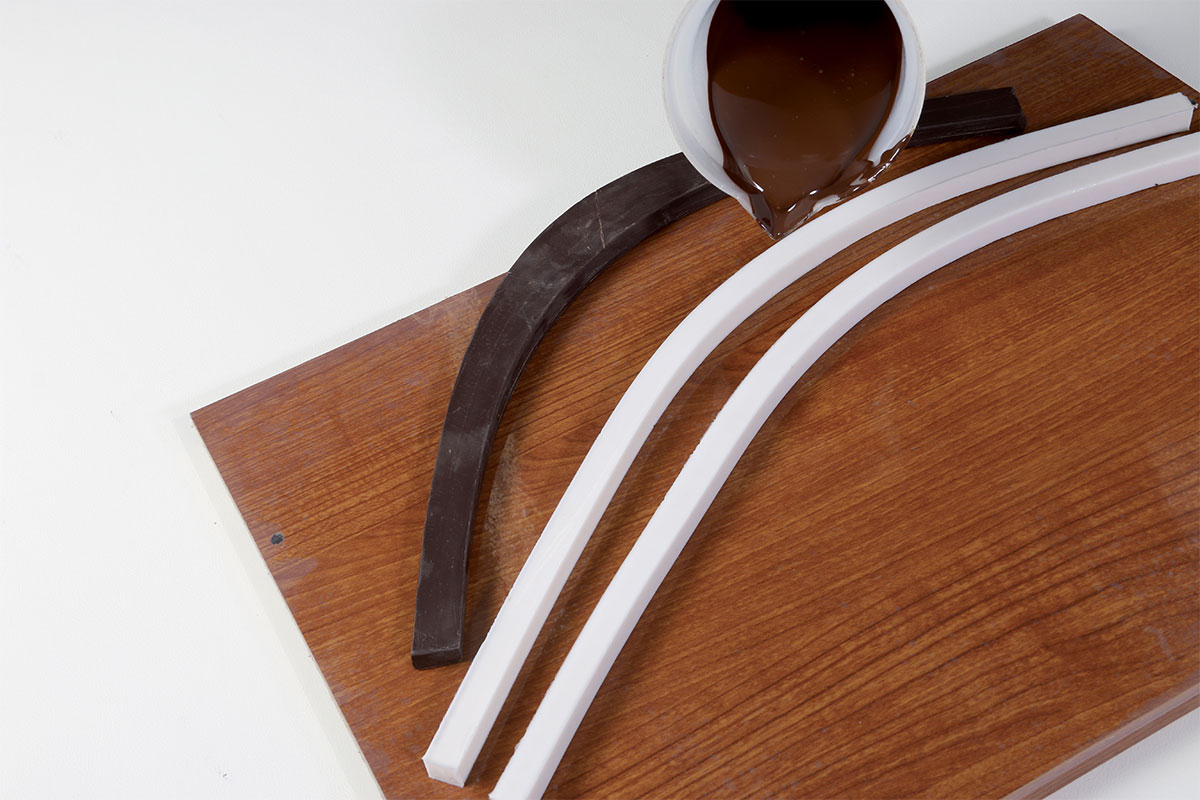
Tilt the lectern to approximately 25°. For the legs of the table make different lengths: about 40 cm for the rear legs, about 30 cm for the front. To make them, lay two silicone strips on a sheet of acetate at a distance of 4 cm and give them a slightly arched shape. Pour the tempered chocolate into the strips until it reaches a height of 2 cm. Repeat the operation to have two legs with the same shape. Reproduce two more of the same shape but 10 cm shorter.
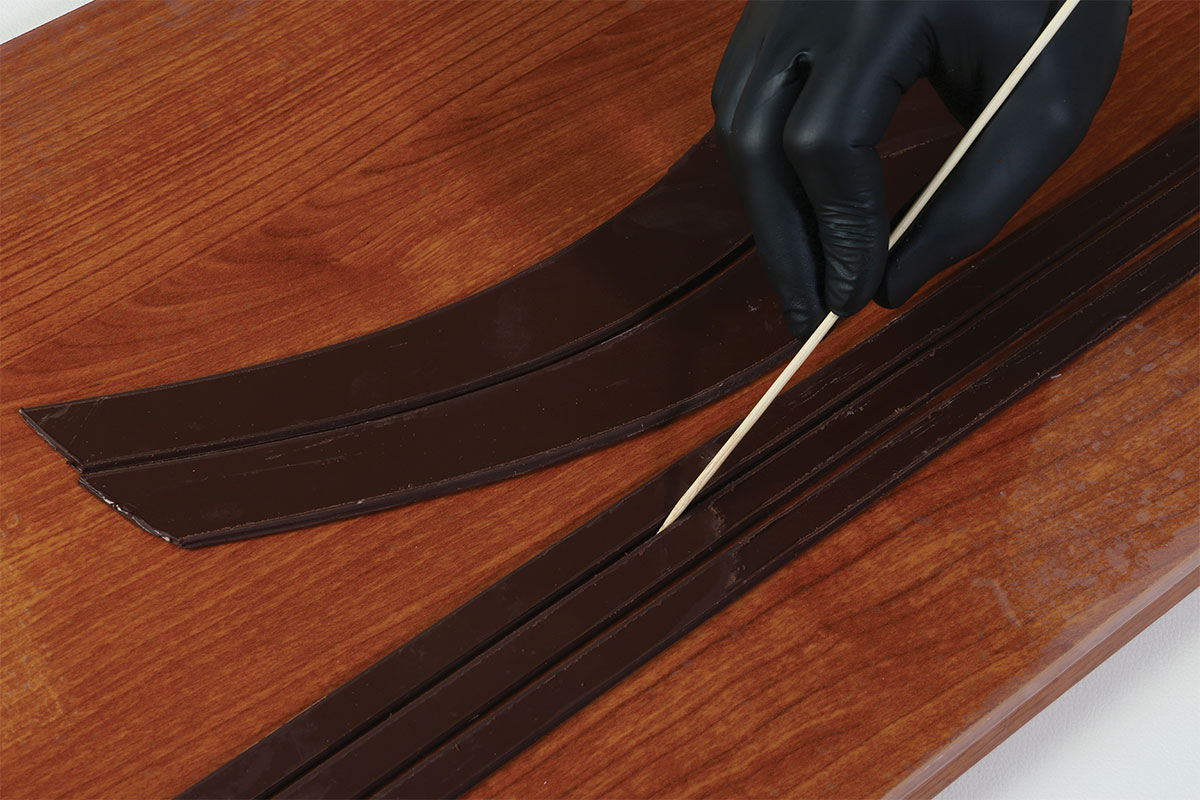
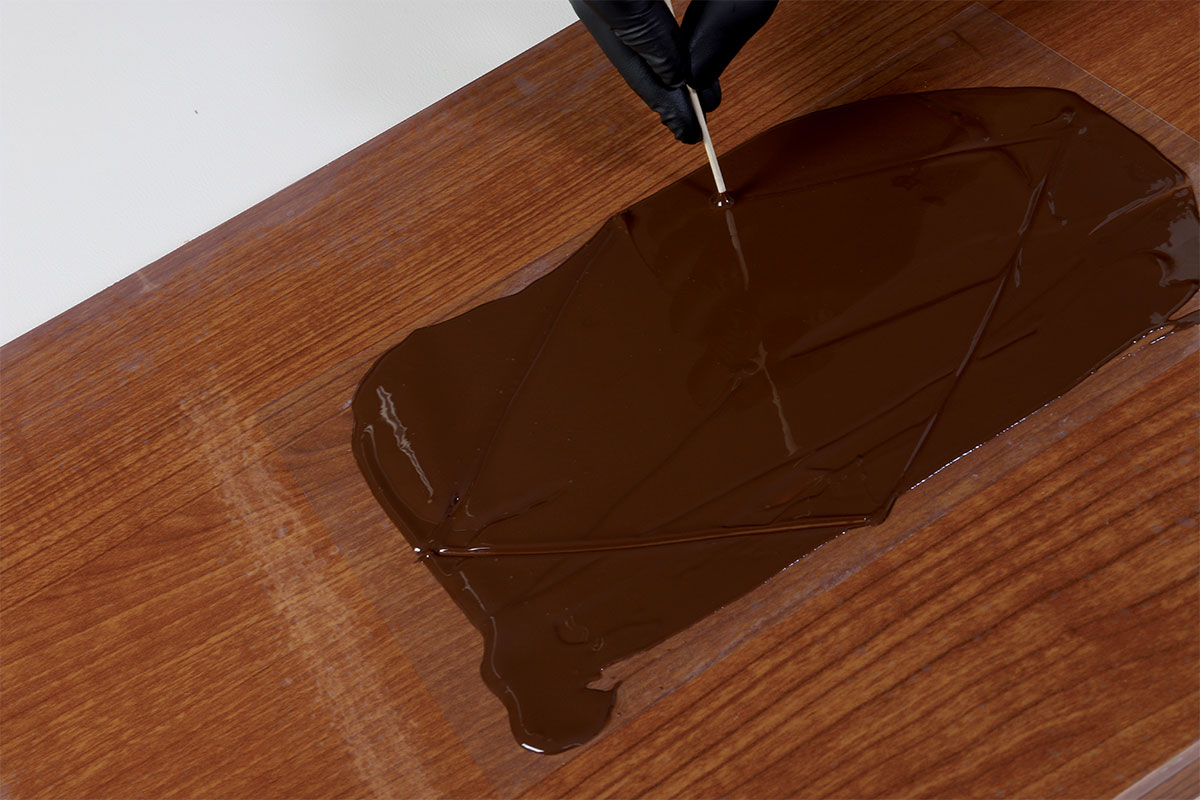
To enrich and strengthen the legs, attach profiles in shaped chocolate, but slightly smaller with a thickness of about half a centimetre. Pour the chocolate on wax paper and use a spatula to spread it to a thickness of half a centimetre to use for the profiles. Place the leg near the poured chocolate and with a toothpick reproduce the same shape before the chocolate crystallizes. Once hardened, peel off the piece and glue it with liquid chocolate to the wider side of the leg. When positioned on the pièce, turn it outwards. Make four legs. Prepare four rectangular slats the length of the four sides of the table and apply them as edges to the table. Attach the four legs to the books respecting the inclination of about 25°.
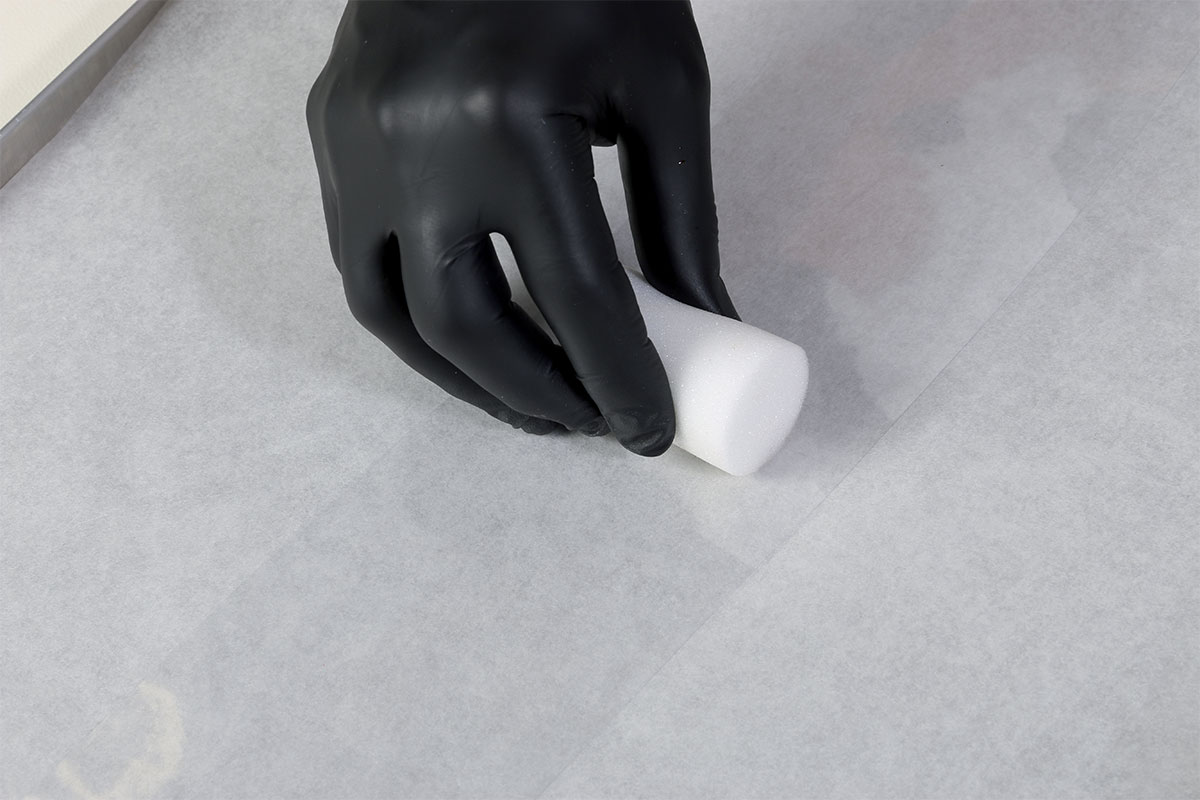
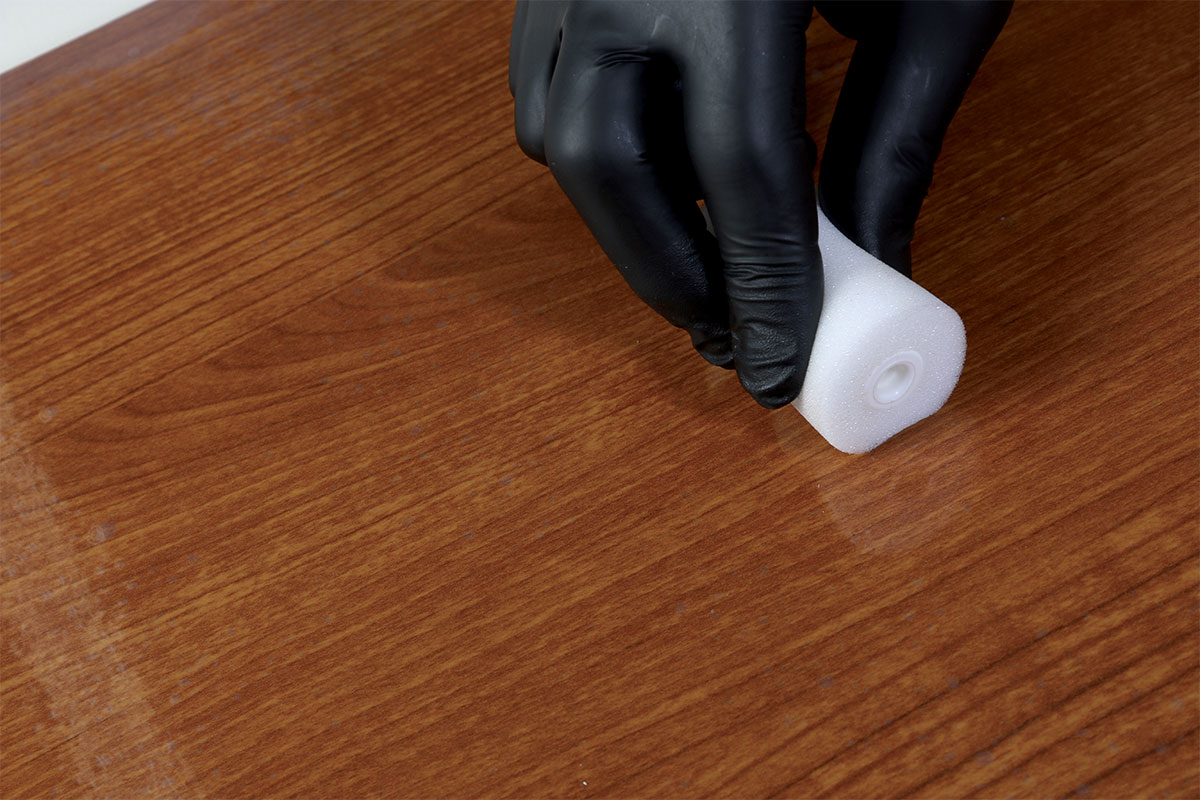
To obtain an elegant and lightweight bow, create thin loops. Use a strip of acetate previously coloured with red cocoa butter and applied with a sponge.
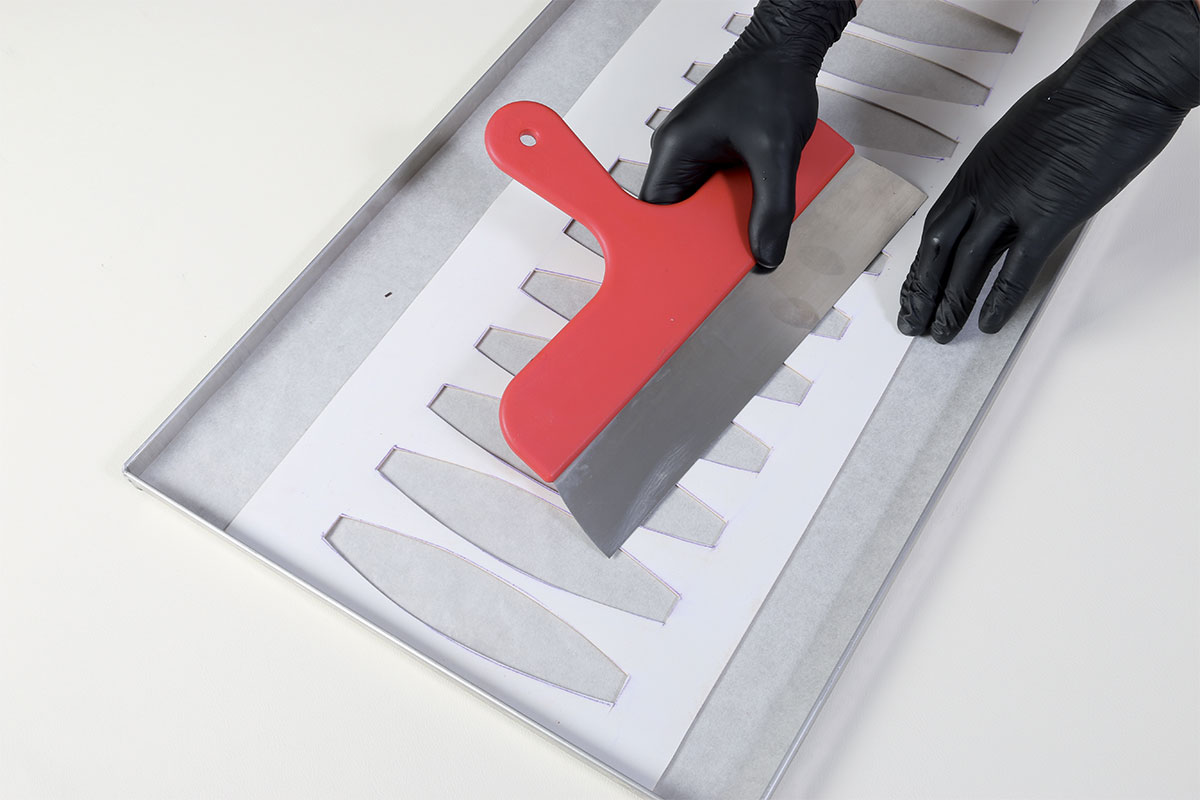
Once the colour has dried, place on top of a chablon shaped like a specular petal (20 cm long side x 4 cm short side). Spread a thin layer of tempered chocolate on the surface of the chablon with the spatula and scrape off the excess.
Quickly remove the chablon, shake slightly and join the two ends of the petal as soon as the chocolate begins to harden. Secure the acetate with adhesive tape until the chocolate crystallizes. Once hardened, gently remove the loops. Make 30 pieces.
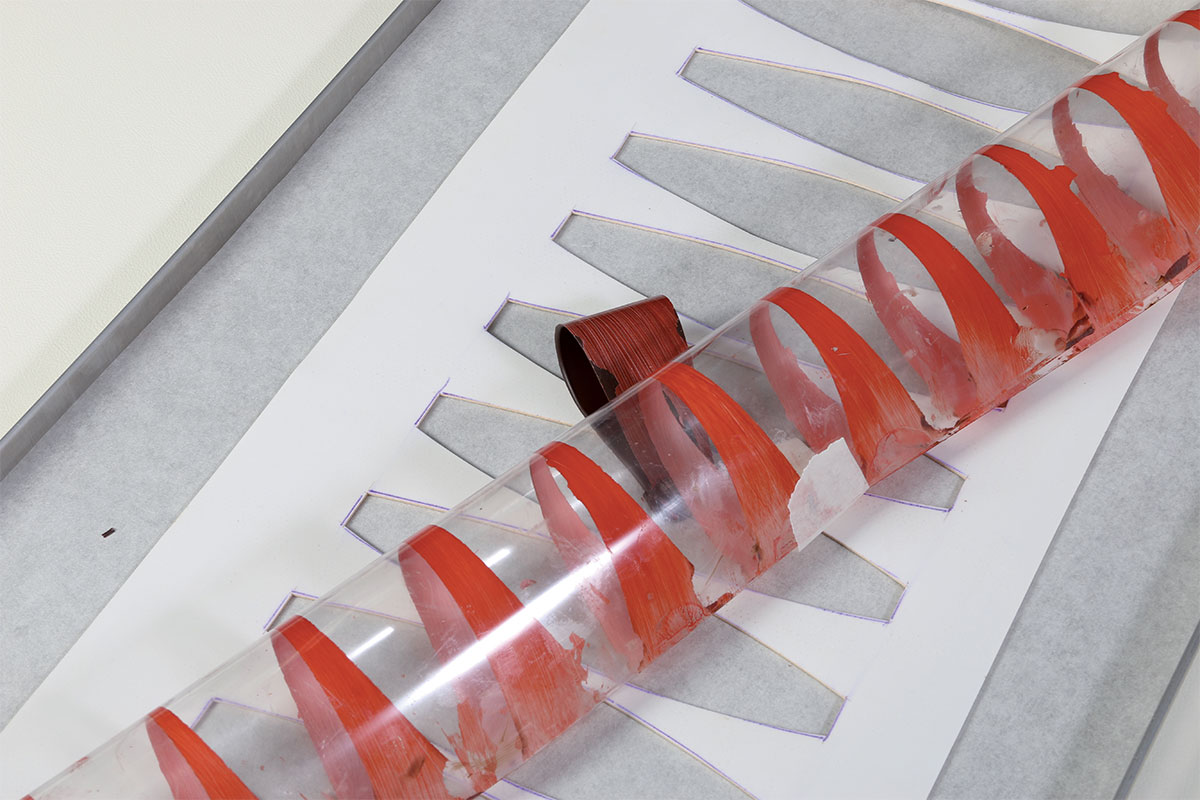
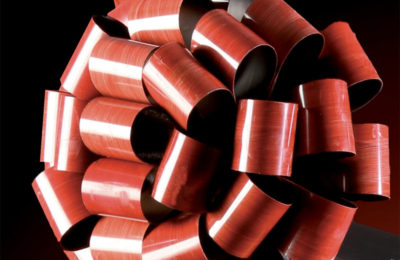

To finish the cap’s bow, make elongated triangles and curls. With a sponge, colour a sheet of acetate with red cocoa butter and pour a thin layer of tempered chocolate on top of it. Before crystallization, use a toothpick to carve the external decorations of the bow, forming three very long triangles. With the same system, create the strips for the decoration of the cap. Roll them on a tube to get a curled shape.
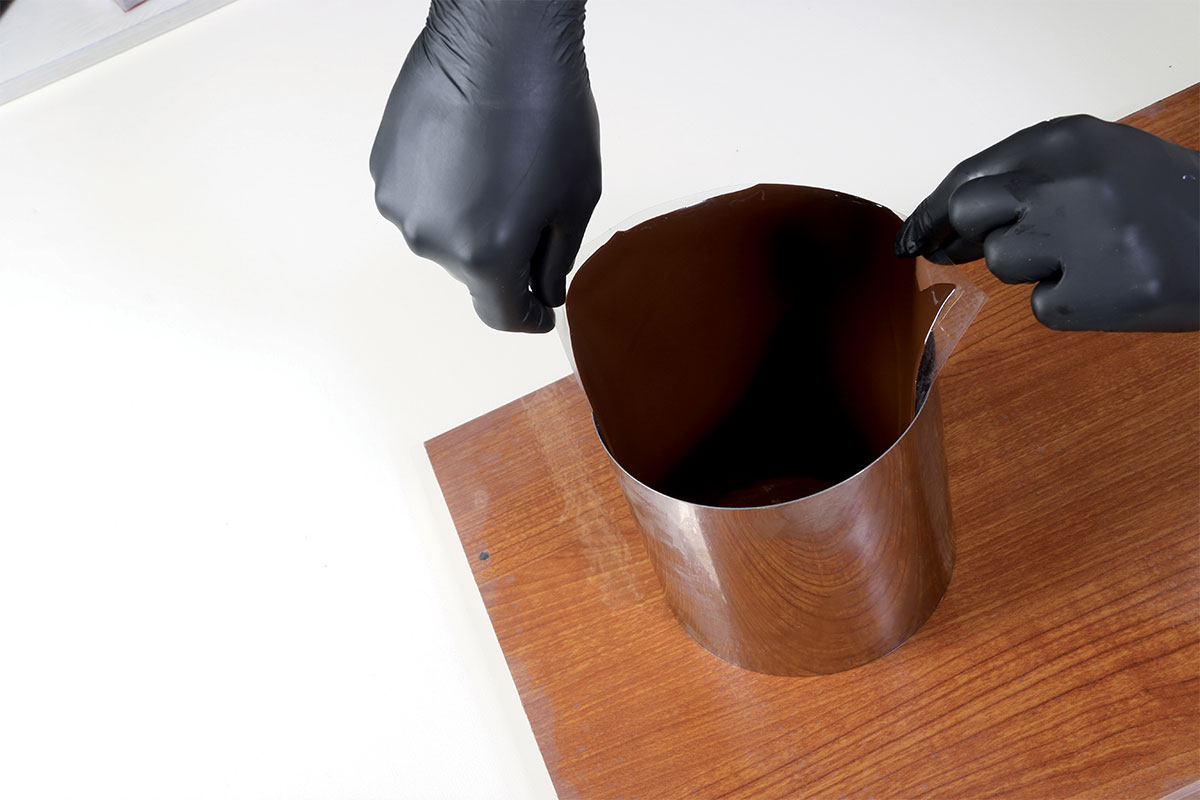
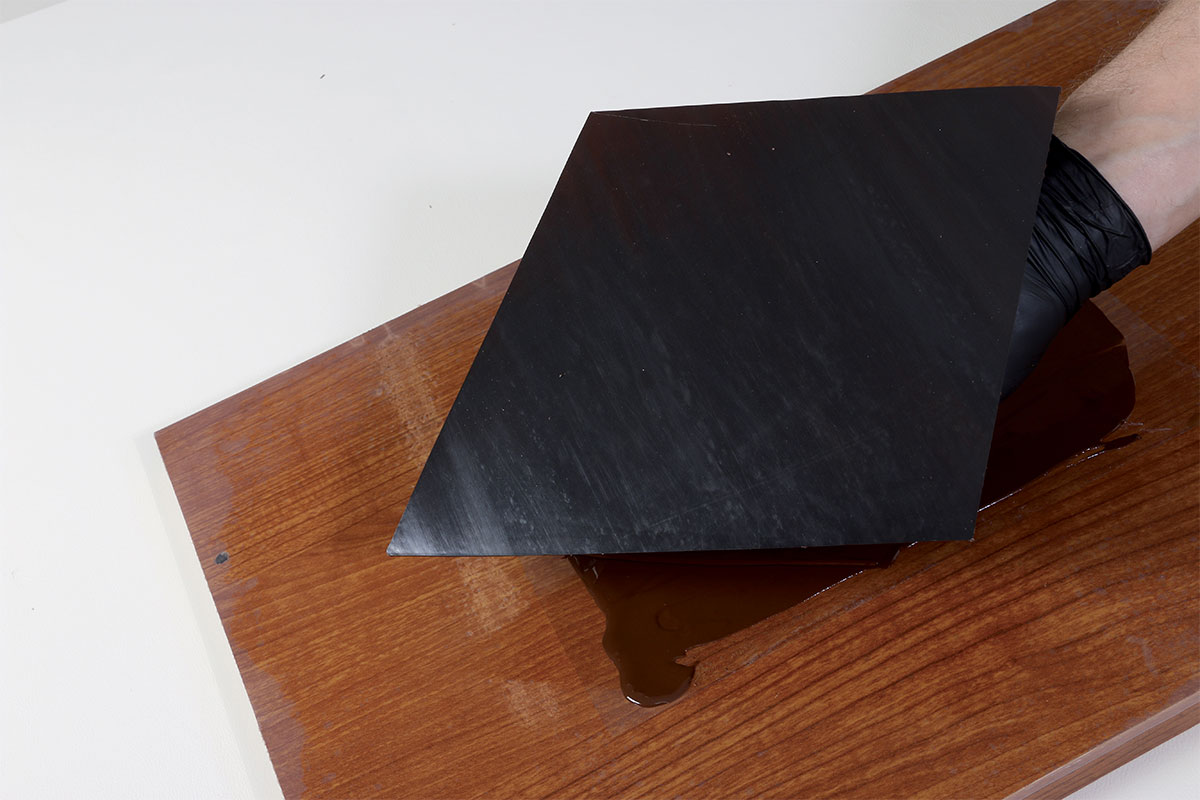
Cut another sheet of acetate measuring 30×10 cm, also sponged in black. Spread a layer of chocolate on it. As soon as it begins to harden, roll the acetate into a 14 cm diameter steel cylinder. Glue the cylinder to the diamond.
For the cap, apply the black colour cocoa butter on a sheet of acetate with a sponge and pour a thin layer of chocolate, spreading with a spatula. Before crystallization, cut out a diamond.

Recent Blog Posts
 Medac and AIFA: Hip hip hooray for Charles!
 Sigep 2024 - Carpigiani’s special events with a look at the “green” future of Gelato and pastry
 Maurizio Manzi, as Ambassador for AIG, at the Melbourne Italian Festa
 Medac awarded with the EcoVadis gold medal
 MIG Longarone and SIRHA Budapest: a new dynamic space for italian gelato
 Medac supports Alice Italian Food Academy
 The Gelatissimo 2024 online ticket office is officially open.
 Casa Optima Group looks for two exclusive agents
 Gelatissimo 2024: here the first information
 Ci Gusta opens a new store into the “Il Mercato Eat&Meet” in Reggio Emilia

